Nugglets Shopify Add-On Setup Guide
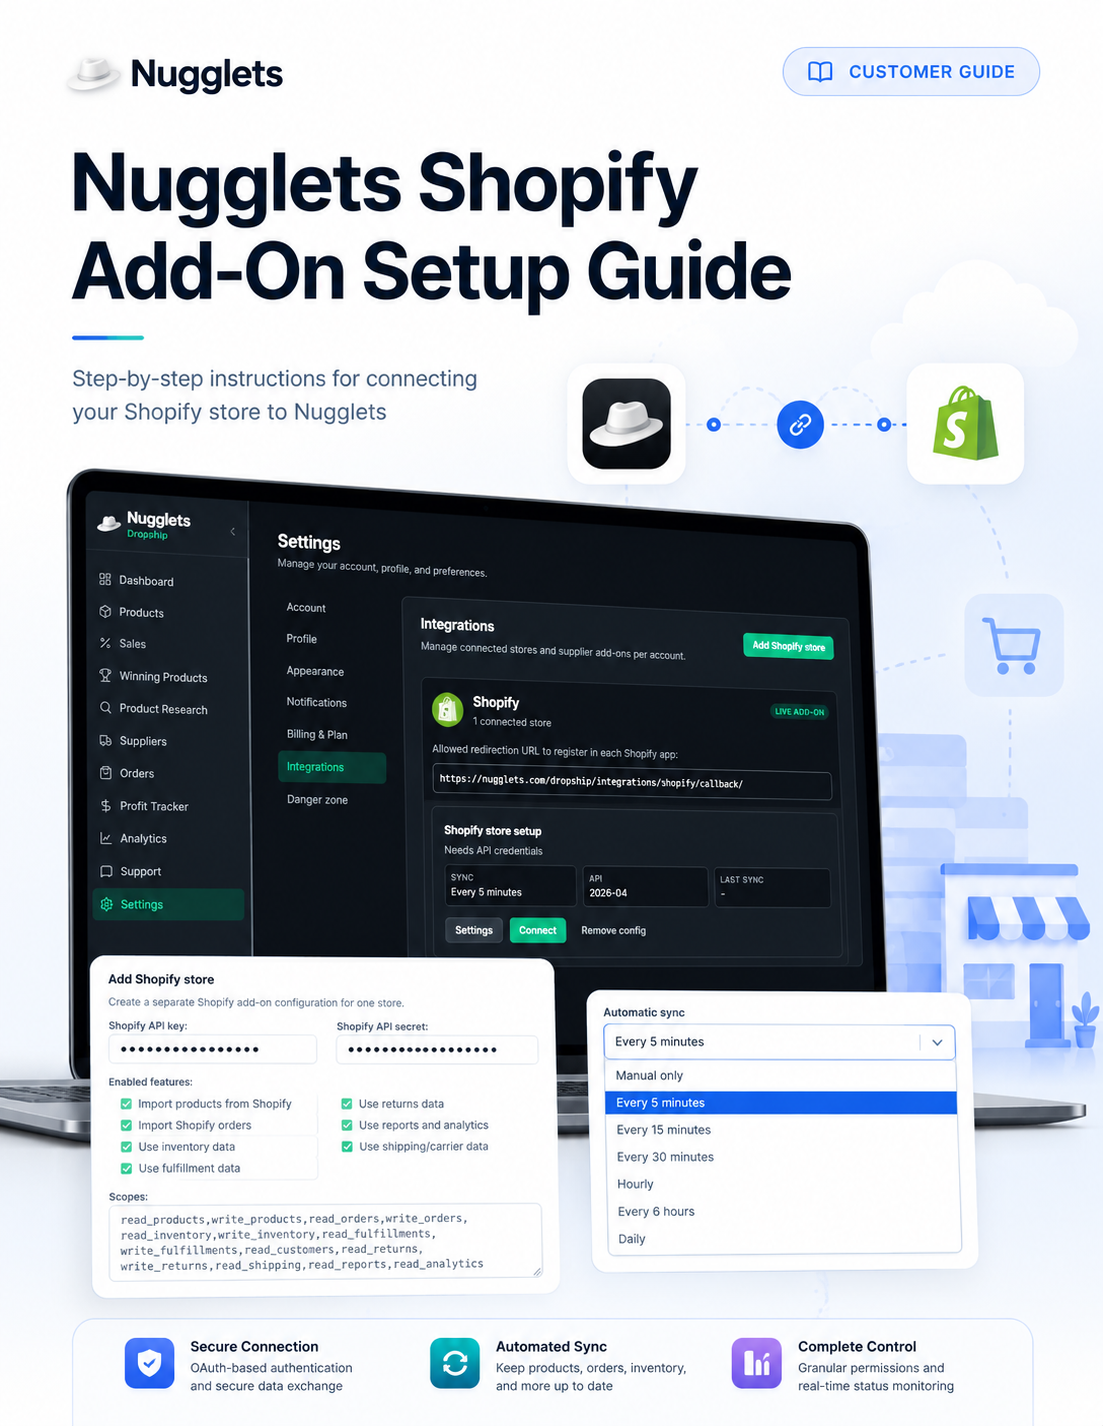
Setup overview
You will:
- Create an app in the Shopify Dev Dashboard.
- Configure the Nugglets App URL and redirect URL.
- Copy the Shopify Client ID and Client Secret.
- Add the Shopify store in Nugglets.
- Enable the supported features and permissions.
- Authorize the connection through Shopify.
- Run the required initial synchronization.
- Allow Nugglets to synchronize the store every five minutes.
Important: Treat your Shopify Client Secret like a password. Never share it publicly or include it in screenshots.
Configuration details
Use these values when configuring the Shopify app:
| Setting | Value |
|---|---|
| App URL | https://nugglets.com/dropship/settings/integrations/ |
| Allowed redirection URL | https://nugglets.com/dropship/integrations/shopify/callback/ |
| Shopify API version | 2026-04 |
When Nugglets asks for Shopify credentials:
| Nugglets field | Shopify credential |
| Shopify API key | Client ID |
| Shopify API secret | Client Secret |
Step 1: Open the Shopify Dev Dashboard
- Sign in to Shopify using the account that manages your store.
- Open the Shopify Dev Dashboard.
- Create a new app for the store you want to connect.
- Give the app a recognizable name, such as Nugglets Shopify Add-On.
Step 2: Configure the app URLs
In the app configuration, enter the following values exactly.
App URL
https://nugglets.com/dropship/settings/integrations/Allowed redirection URL
https://nugglets.com/dropship/integrations/shopify/callback/The redirection URL allows Shopify to return you securely to Nugglets after you authorize the app.
Step 3: Select API version 2026-04
Set the Shopify API version to:
2026-04Save the app configuration before continuing.
Step 4: Copy the Shopify credentials
From the Shopify Dev Dashboard, locate the app credentials and copy:
- Client ID
- Client Secret
Keep the Shopify Dev Dashboard open. You will paste both values into Nugglets in a later step.
Security reminder: Do not expose the Client Secret in screenshots, support messages, or public documentation.
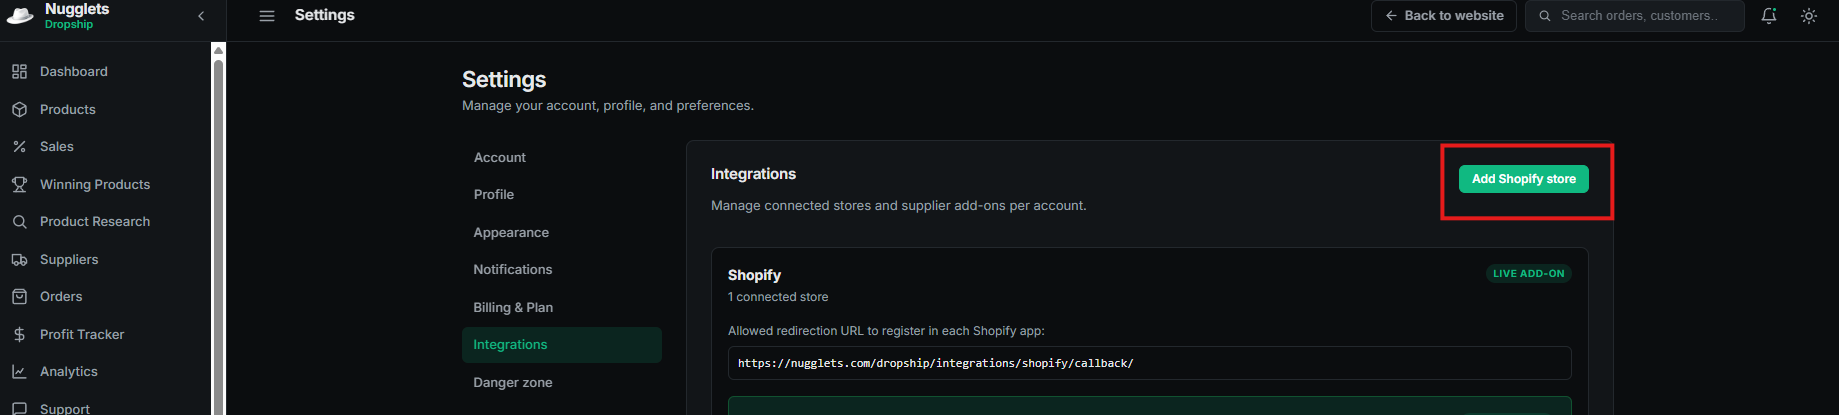
Step 5: Open Integrations in Nugglets
- Sign in to Nugglets.
- Open Settings.
- Select Integrations.
- Click Add Shopify store.
Step 6: Enter the Shopify credentials
In the Add Shopify store window:
- Paste the Shopify Client ID into Shopify API key.
- Paste the Shopify Client Secret into Shopify API secret.
Step 7: Enable the Shopify features
For the recommended setup, enable all available features:
- Import products from Shopify
- Create or update Shopify products from Nugglets
- Delete Shopify products when they are deleted in Nugglets
- Create, update, or delete Shopify discounts from Nugglets
- Import Shopify orders
- Use inventory data
- Use fulfillment data
- Use returns data
- Use reports and analytics
- Use Shopify app proxy support
- Use customer context
- Use store locations
- Use shipping and carrier data
- Read all order history
Nugglets automatically adds the required Shopify scopes based on the features you enable. Leave the generated scopes in place unless instructed otherwise by Nugglets support.
Note: The Read all order history permission may require additional Shopify approval. Enable it as part of the recommended configuration, but Shopify may handle this permission differently from the standard scopes.
Step 8: Add the store configuration
After entering the credentials and enabling the features:
- Review the generated Shopify scopes.
- Confirm that all recommended features are selected.
- Click Add to save the Shopify store configuration.
The Shopify integration card will now appear in Nugglets.
The Connect button may remain unavailable until all required credentials and configuration values have been saved correctly.
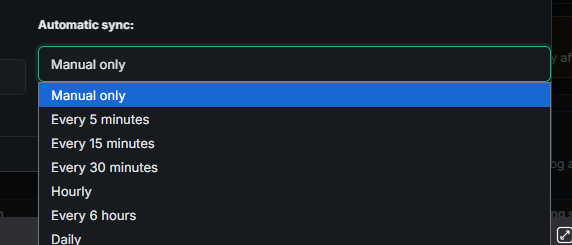
Step 9: Set automatic synchronization
Open the store’s Settings in Nugglets and set Automatic sync to:
Every 5 minutes
Every five minutes is the recommended setting because it keeps supported Shopify information current in Nugglets, including:
- Products
- Orders
- Inventory
- Fulfillment
- Returns
- Discounts
- Shipping data
- Reports
- Other enabled information

Step 10: Connect the Shopify store
Return to the Shopify integration card and click Connect.
You will be sent to Shopify to authorize the app and its requested permissions.
- Review the permissions requested by the Nugglets Shopify Add-On.
- Approve or authorize the connection in Shopify.
- Shopify will redirect you back to Nugglets.
After the authorization succeeds, the store should appear as a connected Shopify store in the Nugglets integration panel.
Step 11: Run the initial synchronization
Automatic synchronization does not replace the required first import.
After the store is connected:
- Open the connected Shopify store in Nugglets.
- Click Sync now.
- Allow the initial synchronization to finish.
The initial sync imports the Shopify data permitted by the features and scopes you selected.
The amount of time required depends on the size and history of the store.
Step 12: Confirm the setup
After the initial synchronization, confirm that:
- The Shopify card shows the store as connected
- The connected-store count has increased
- A recent time appears under Last sync
- Shopify products appear in Nugglets
- Shopify orders appear in the dashboard
- Inventory, fulfillment, returns, discounts, and other enabled data are available where applicable
The Nugglets Shopify Add-On is now configured.
Nugglets will continue synchronizing the enabled Shopify data every five minutes.
Adding another Shopify store
Nugglets supports separate Shopify add-on configurations for individual stores.
To add another store:
- Go to Settings → Integrations.
- Click Add Shopify store.
- Create or configure the appropriate Shopify app for that store.
- Enter its Client ID and Client Secret.
- Enable all recommended features.
- Set automatic synchronization to Every 5 minutes.
- Click Connect and authorize the app in Shopify.
- Return to Nugglets and click Sync now.
Each Shopify store must use the credentials associated with its own app configuration.
Updating the integration later
Use Settings on the Shopify integration card when you need to:
- Change the automatic synchronization frequency
- Enable or disable supported features
- Update Shopify credentials
- Review the configured Shopify scopes
After making permission or scope changes, Shopify may require you to authorize the updated permissions again.
Run Sync now after making major configuration changes.
Need the product view?
Open the live demo to see these workflows inside the Nugglets dashboard.
Open live demo